I realized partway through the main image I was working on yesterday that I probably wouldn’t be able to finish that night, so I switched gears. I had a few false stars before I ended up doing a Firefly beauty shot. One little touch was moving the starboard shuttle out to launch position, so it could pick up the glint of the sunlight.
Category Archives: Write-Up
100 Days, 100 Renders— Day 35
Having run the numbers earlier, I decided to go with a portrait-oriented Star Wars image to mix things up a bit. I also spent too much time screwing around with the Borg Cube model to do anything very elaborate.
Just before I ran the render, I remembered that this is a scene that takes place at Tatooine, so I added a second key light to represent the second sun, with a 60/40 split between them as far as lighting goes. They’re also different sizes, so one set of shadows is sharper than the other set.
100 Days, 100 Renders— Day 34
100 Days, 100 Renders— Day 33
There’s a certain ebb and flow to these pictures, I’ve noticed. This one was another “getting acquainted with the model” image. I’m hoping to do a couple pictures representing scenes from the Star Trek novel trilogy “Destiny,” which involves, in part, a massive Borg attack on the Federation. The nebula is a Hubble photo I considered as a possible background for yesterday’s picture.
100 Days, 100 Renders— Day 32
100 Days, 100 Renders— Day 31
Hey, I made it a whole month! How about that.
After the Babylon 4 picture yesterday, I felt like continuing the theme. This one is actually based on a specific shot from Babylon 5’s season 3 finale, “Z’ha’dum.”
100 Days, 100 Renders— Day 30
As I was working on my Star Trek 50th Anniversary picture last night, I wanted a quicker set-up for today’s render. Luckily, The Audio Guide to Babylon 5 dropped their episode on War Without End last night, giving me a fine bit of inspiration.
I’ve been avoiding images of Babylon 4 (and 5) since those models are older, and it’s easier to make more flattering images with more up-to-date models. Only one of the models in this image even has a self-lighting rig. Still, it gives me a foundation I might revisit later in the future.
I also tried my hand at the Shadow’s “phasing” effect, similar to the classic Star Trek cloaking device. I’m fairly sure the original show did the effect in 3D, but I haven’t had a lot of success with it when I’ve tried. More experimentation will be required.
100 Days, 100 Renders— Day 29
With this last test, I’m set for Thursday’s picture. This model is a bit hefty for my poor old laptop, so I didn’t get to do a lot of experimentation with angles and lighting for this shot. I just went for the first idea I had. I tried for too much quality on the render so it wasn’t close to finished this morning, which is why it’s smaller than usual.
100 Days, 100 Renders— Day 28
Another basic test shot. This one has the benefit of not being a conversion, though I did adjust some of the lights and textures. The Enterprise-D is a hard ship to make look good. In my opinion, it’s at its best in shots that emphasize its size (same with the Excelsior). That giant saucer is really hard to work around.
100 Days, 100 Renders— Day 27
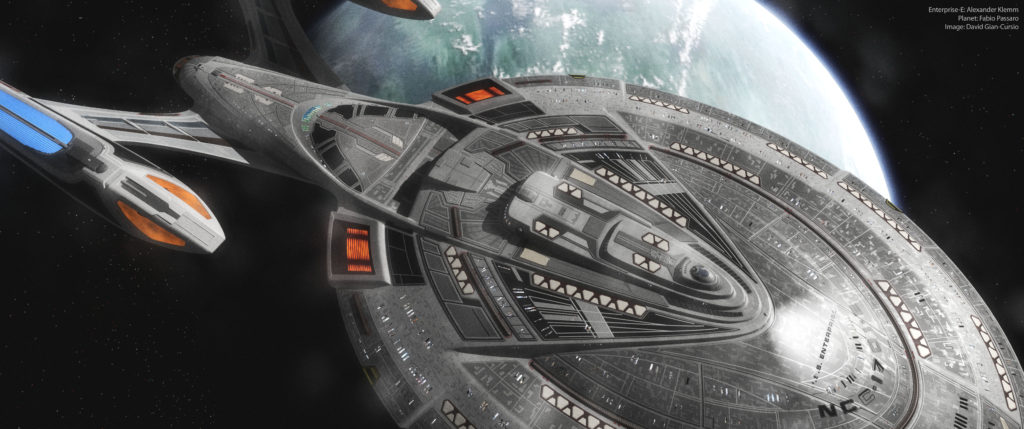
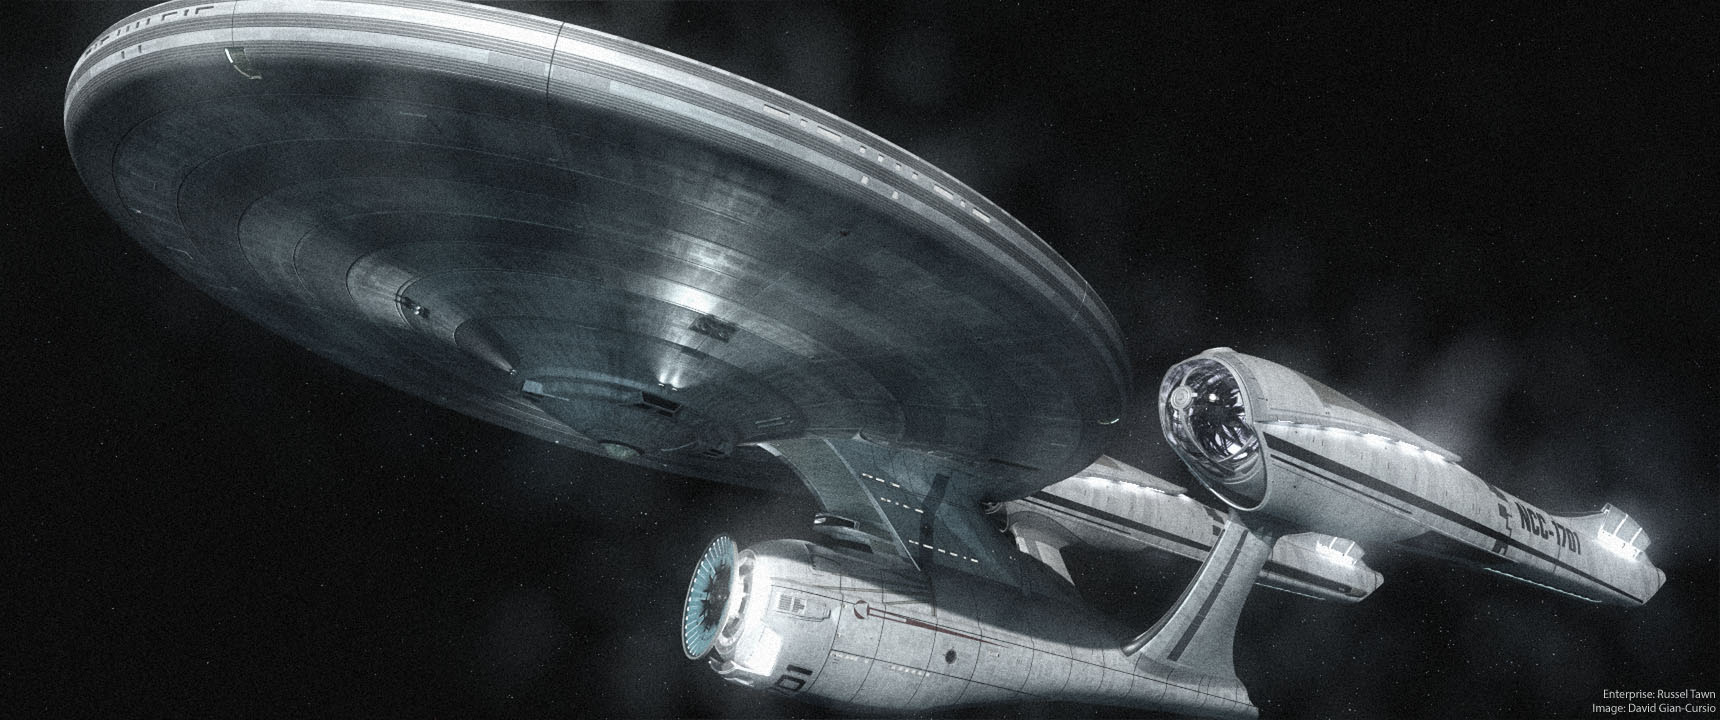
This was another glorified test-shot. Converting models built in other programs into the one I use is something I haven’t had to do much since I started using Lightwave, so it was interesting to flex that muscle again. I’m note sure what to do about all the rendering errors on the saucer. I think they might be because Lightwave’s FBX importer, so I may try to redo it in another format as a base. The modeler, Alexander “Nightfever” Klemm, is very conscientious about making his models available in universal formats, which I appreciate. Still, its current condition is serviceable for my 50th anniversary idea, so I’ll move on to working on the other ships I need to have ready to go.
Aside from the glitches, “Generic Enterprise-E Render” turned out fairly well. It does appear that I need a wider library of high-resolution fictional planets, though. Something to keep in mind if I’m bored in the future. I also applied the out-of-focus lens-dirt technique I developed a few days ago, partially hoping I could use it to cover up some of the rendering problems, though when that didn’t work out, I dialed it down it was much more subtle. I also tried out the idea I suggested in that prior post, having several layers of dirt responding to different amounts of blur, though wouldn’t really be visible in a still.