100 Days, 100 Renders— Day 1


CDRD-001_White_Stars_Over_Planet_Credits

There’s an idea I’ve heard about, the Mind Palace. It’s a sort of memory exercise, where you imagine a building— library, museum, palace, whatever— and sort stuff you know information you know into different rooms. You take advantage of your brain’s natural tendency to form associations by tricking it into joining certain information to these imaginary rooms, so imagining the room also calls up everything you’ve “stored” in there. I’ve never had the patience to try it out myself, but I thought of it earlier yesterday, when I decided to embark on this project, and I found myself able to begin conjuring up shots in my minds eye, just like I used to years ago, as if the ability was behind a door in my mind I just hadn’t opened up in a while. Maybe I didn’t “lose” my mojo so much as was driven away from it. Continue reading

Archer-class Starship

Comparison of my model with Masao Okazaki’s original schematic drawing

Download Lightwave 2015 Version

Download FBX/OBJ Version

The Archer-class starship is a small TOS-era scout designed by Masao Okazaki for the Star Trek: Vanguard novels created by David Mack, Dayton Ward & Kevin Dilmore, and Marco Palmieri. I began the model some time ago, after getting the idea of doing an opening credits sequence animation for the then-recently-announced Star Trek: Seekers spin-off series.

Continue reading

Enterprise-Refit Interiors

Last year, around the time the 5K iMac and 2016 Ships of the Line calendar contest were announced, I got the idea of making window boxes for Dennis Bailey’s refit-Enterprise model so as to show more detail in the high-resolution images of the future. This has been my favorite science fiction design for as long as I can remember, so simple textured boxes were right out. I wanted to have furniture, even crew people visible through the windows. It took a while but, the results were worth it.

The layout of the rooms is based more-or-less on the Strategic Designs blueprint set, with some details from Mr. Scott’s Guide to the Enterprise and my own interpretations.

The model includes three swappable objects, based on locations that changed between the original Enterprise and the A. The officer’s lounge under the bridge can be replaced with a dining room, the large shuttlebay from TMP can be swapped for the enclosed version from TFF, and the swirling, gaseous warp core from the early movies can exchanged for the pulsing TNG model. The idea is that I could easily mix-and-match to represent other Constitution-class ships of varying configurations. I’m a big fan of the idea that sister-ships shouldn’t be perfectly identical except for the name painted on the front.

The whole configuration also comes in two versions, one in smooth earth-tones as the original Enterprise appeared in the first three movies, and one with more greeblies and silver and blue-gray coloring as the Enterprise-A appeared in The Undiscovered Country.

The crew people are very low-detail, little more than stick figures, but come in male and female, and have various skin tones and hair colors. I also set them up so it was simple to change the style of their uniforms, from the movie-era all the way to the various TNG-era uniforms.

The only drawback is that the lighting for the windows is a little dim compared to the official model, but I’ve been rendering in passes for years anyway, so it isn’t any trouble to brighten up the windows after the fact.

I included some small shots from inside the rooms but, to be clear, this is an exterior-only model. It’s no secret that interiors and exteriors for buildings and vehicles in film rarely match up perfectly, and these are no exception, with compromises made for the Recreation Deck, the Cargo Bay, and the height of all the rooms along the saucer’s edge, especially. Anyone building a model of the interiors of the movie-era Enterprise would have to ignore the outer shape of the ship to get those to look correct. The shuttlebay observation galleries being a half-deck below the window line on the exterior ship could be argued to be a feature of the “real” ship, but I’m not sure I like it.

After I finished the interior, I decided to gussy up the texturing on the main model, as well. I’ve been fiddling with the textures and lighting setup since I first downloaded it, but this time I set out to match the reflective, pearlescent paint job the studio model had for the first Star Trek movie. It ended up being surprisingly straightforward to get multi-colored highlights out of the model’s original textures, and adding reflectivity to the surfaces also required only a little trial-and-error to nail down.

I’ve rendered off shots from three angles so you compare Dennis’s original model to all the stuff I’ve done to it.

My version is on the left, the original on the right.


Ent_Front_Mod_Blue

And here are some full-sized versions of my revamp for you.

You can see more work-in-progress images and read more details about the creation of model in this thread at Foundation3D. The model itself, along with an FBX conversion, and just the crew figures, is also available for download there. You’ll have to modify Dennis’s model to use them, which is why they’re in the “unfinished” section of F3D, but the Read Me explains what you need to look for.

You can also download them here:

Interiors (LWO)

Interiors (FBX)

Crew (LWO & FBX)

Something you want to add to this briefing, Captain?

Diaspora is a space combat simulation game set in the universe of the remade Battlestar Galactica, and based on the Freespace 2 engine. It’s super-fun and polished, and if you ever wanted to fly a Viper, you should probably download it now. A while ago, the call came out once again for volunteers, specifically mentioning visual effects animators. I leapt at the chance.

When you ask to join the Diaspora team, there’s an audition process where you’re given a minor assignment in whatever your area is. The original concept for mine was deceptively simple: In several episodes, the Galatica’s “war room” was seen, which had as its centerpiece a large light-table where the crew pushed around little models with sticks to plan attacks, or keep track of battles that were in-progress. The concept was to have a 3D-rendered version of the table and these models, and to show them being pushed around in a cutscene, to replace one of the in-engine briefings for “Shattered Armistice,” the first episodic release of Diaspora.

Warroom
Warroom_overview
Models_2012_10_15_a
Models_2012_10_20_a

After some modeling and some R&D figuring out what the best conceit was for how to present it, we settled on the idea that a war room strategy session with the CAG, CO, XO, and other important initials which was recorded by a ceiling-mounted camera, and was being played back for the pilots on the briefing room overhead projector.

Table

After animating the models being pushed around in time to the existing voiceover, I saw there were a lot of holds and dead air, and there were some concepts I was worried weren’t being communicated, such as the location of the missile batteries to be targeted on the enemy ships, so I experimented with cutting in some “gun-cam photos” of the Cylon basestars, and an engineering status screen. These were a hit with the team, so I continued in that vein, using the tabletop models in a supporting role as one visual aid among many.

M2 Gun Cam Vid 2 Missiles

Once I had a completed cut of the briefing, I was officially inducted, which consisted mostly of me getting a little icon on the Diaspora forums implying I know what I’m talking about. Lacking anything else to do, and realizing that it’d be kind of weird to have just one cutscene briefing, I started replacing all the single-player mission briefings for “Shattered Armistice.” Since there was only one mission with a degree of planning or strategic complexity that justifies the use of the war room, I created DRADIS readouts, starcharts, comm-screens, countdown clocks, and whatever else I could think of that the CAG might slap together into a futuristic PowerPoint show for her briefings. I even redid the engineering readout for the first briefing I did, after I’d built up a library of BSG-style computer graphics. And let me give a shoutout to Matt Haley, who recreated the DRADIS screen in Adobe Illustrator and graciously allowed me to use it and build on it in these cutscenes.

FTL System Report Screen Animatable
System Plot M4
Basestar Orbit

The most ambitious section was easily the recording of a pilot being shot down for the third mission’s briefing.

I animated a BSG-style space-battle, shot from a Viper gun-camera, with no cuts. The most challenging part was working out the timing and animation of the camera, so I could show everything I needed to show, without a lot of dead air, while still feeling like something the player would recognize from the show and, more importantly, from their experiences with the game, where they would’ve been playing the mission this recording was depicting moments earlier.

Battle 1
Battle 2
Battle 3
Battle 4

As a bonus, I created desktop-sized renders of all the tabletop models I created for this project, including several that weren’t used. At least, not in this release.

A version of this post appeared on the Diaspora Developer Blog.

Step From the Road to the Sea to the Sky

A quick animation using Foundation 3D’s favorite new spaceship. There wasn’t much excitement to this. A bit of noise added to the camera to give it some wobble (which YouTube insists on trying to “correct”), and the Jupiter map was recolored in the comp to be an alien planet. The cloud plate was a photo I shot with my phone and then enlarged with this on-line tool, though I still had to do some noise reduction in Photoshop.

The most interesting thing was a new idea I tried to do the heat haze coming from the engines, which I made using After Effects’ “Displacement Map” filter. I created a couple of blimp-shaped dummy objects in Lightwave which I placed inside and behind the engines of the ship. I colored the environment and the ship 50% grey for the render, and gave the gave the haze objects an animated black-and-white procedural noise texture. I had the transparency fade towards the rear and edges of the object with gradients.

Prom_Gray_Haze

The Displacement Map filter can actually drive horizontal and vertical seperately displacement based on separate color channels. I experimented with using colored noise when I rendered the still frames, but it would only make a real difference in an animation.

Prom_Color_Haze

Credits:
Prometheus: Russell Tawn
Planet: James Hastings-Trew
Moons: Fridger Schrempp and Björn Jónsson
Rings: Yuri A. Parovin

I also have a trio of 4k stills for your viewing pleasure.

Prometheus_Flyby_Stills_00000

Prometheus_Flyby_Stills_00001

Prometheus_Flyby_Stills_00002

Quiet Night at the Office

I got another bite of the render bug the other day. I’m going to need that to start coming a bit more consistently again.

I originally visualized this angle with a Miranda-class ship, but I don’t have a modern Miranda that’ll hold up to this kind of proximity and detail. While I was assembling the scene, I found I’d already had one from an earlier attempt to make a nighttime drydock render, but I hadn’t been able to settle on a good angle. So I loaded in the old scene, aligned it to fit the picture in my head, added a bunch more spotlights, and rendered it.

I think this works much better as a night shot than my prior attempts have. My initial inspiration for the shot, lighting and mood-wise, was this photo of a cruise ship docked at night:

The background is from NASA’s library of astronaut photos of Earth. It’s actually a shot of the terminator. I desaturated it and then recolored it dark blue to represent a barely-visible nightside. Also, since I figured a night shot would require a longer exposure, I cranked up the motion blur well past 100%, so the various shuttlecraft that are buzzing around are barely-defined blurs.

Updated 2015-09-03:

Quiet Night at the Office 5K

I’ve re-rendered “Quiet Night” in 5K. There are a couple of deliberate changes in this one compared to the original version of “Quiet Night at the Office.” The most obvious is probably that I repositioned all the travel pods and work bees because I set up the scene to animate and wanted more visually interesting flight-paths. I dialed back the motion blur a bit, as well.

A little more subtle touch is that I changed the ship from the Enterprise to the Endeavour, after a tedious evening of aligning and stenciling text. I wonder if there’s a script or something that you could write to do that.

I brightened up the windows considerably on this image, possibly too much. It’s more like my original aim for them, where they still look a lot like the featureless white of the studio model, but have just the subtlest suggestion of depth. You can just barely see a person in the first long window to the left of the gangway. I also think I might’ve been a bit too heavy on the grain, but I’d like to see it on a retina/hiDPI/5K screen before I make a final judgement.

Updated 2016-02-14:

And here’s an animated version.

Stargate puddle effect: Now with quality!

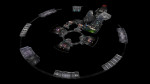
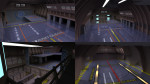
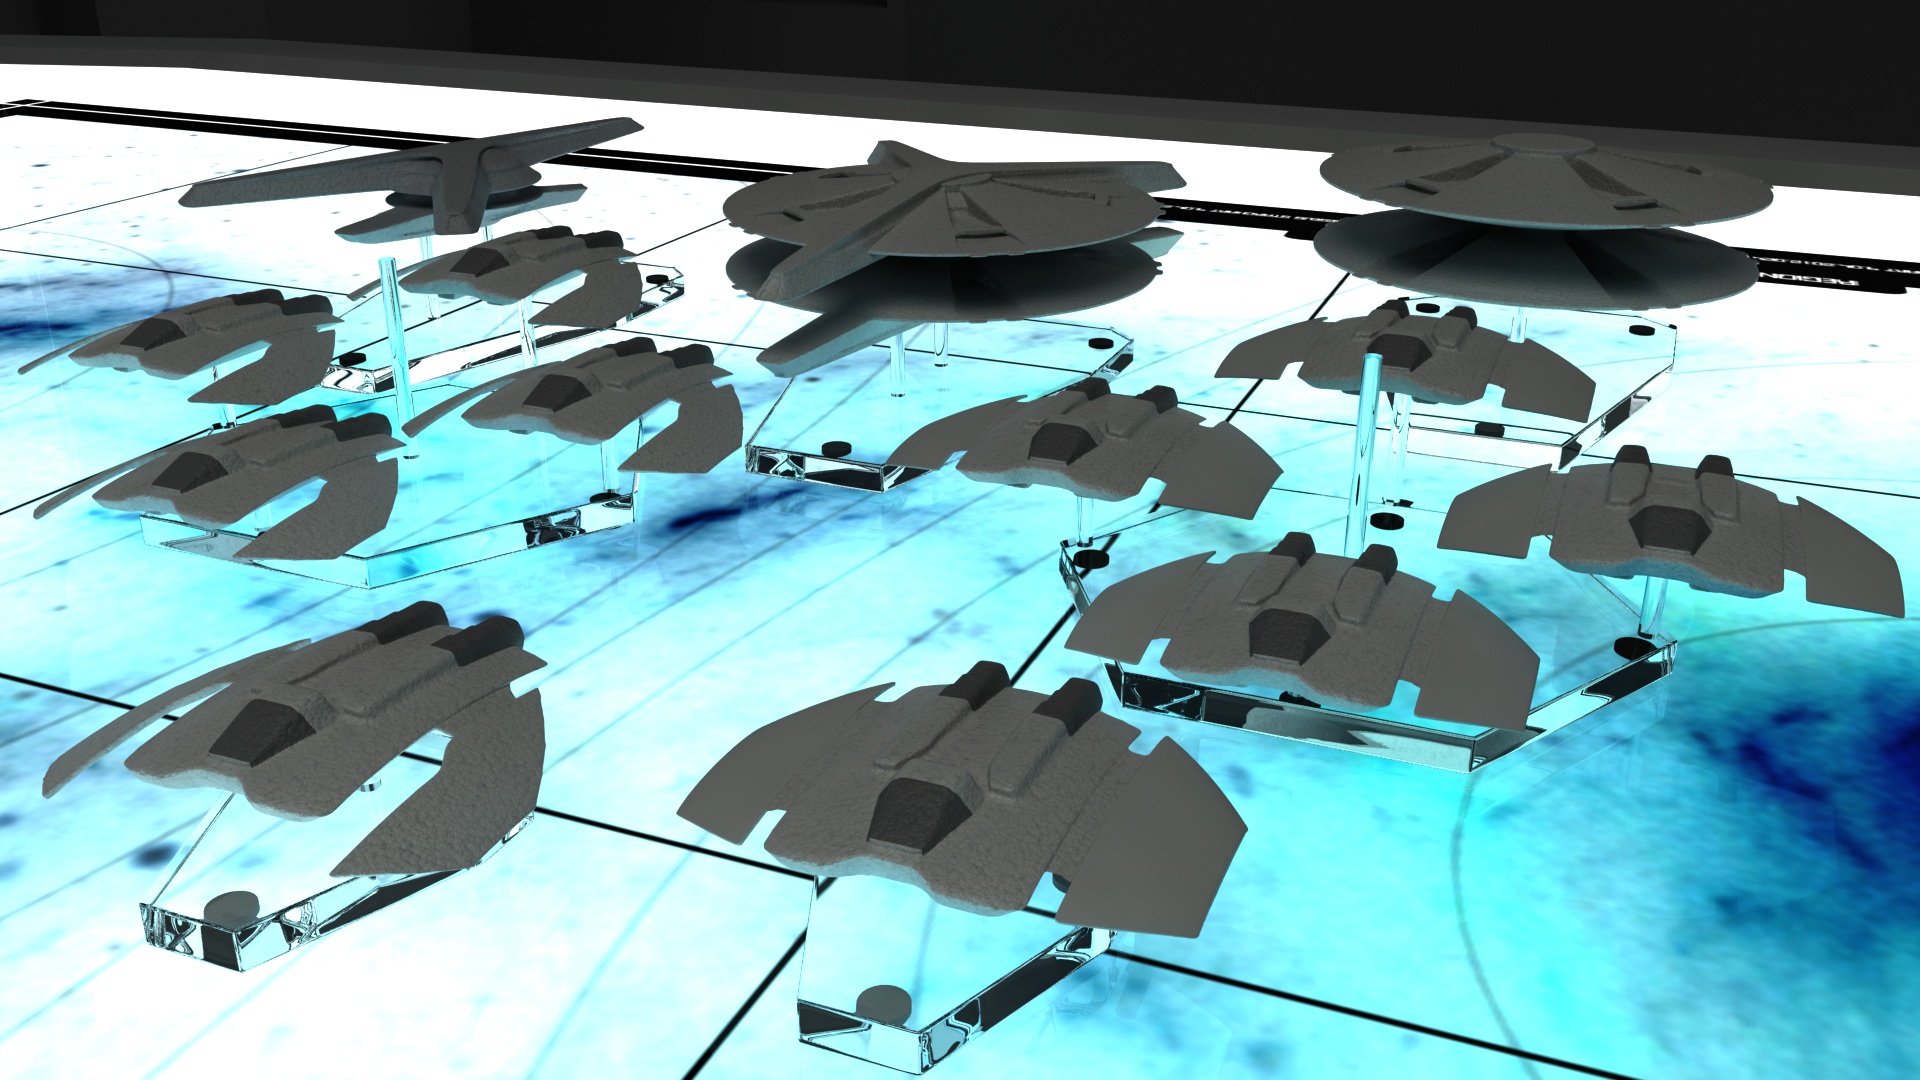
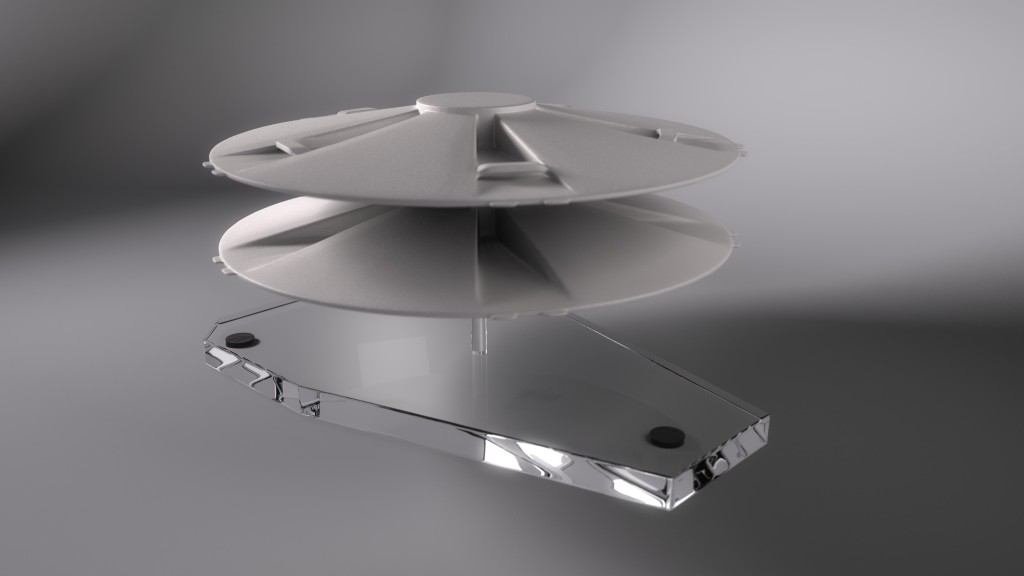
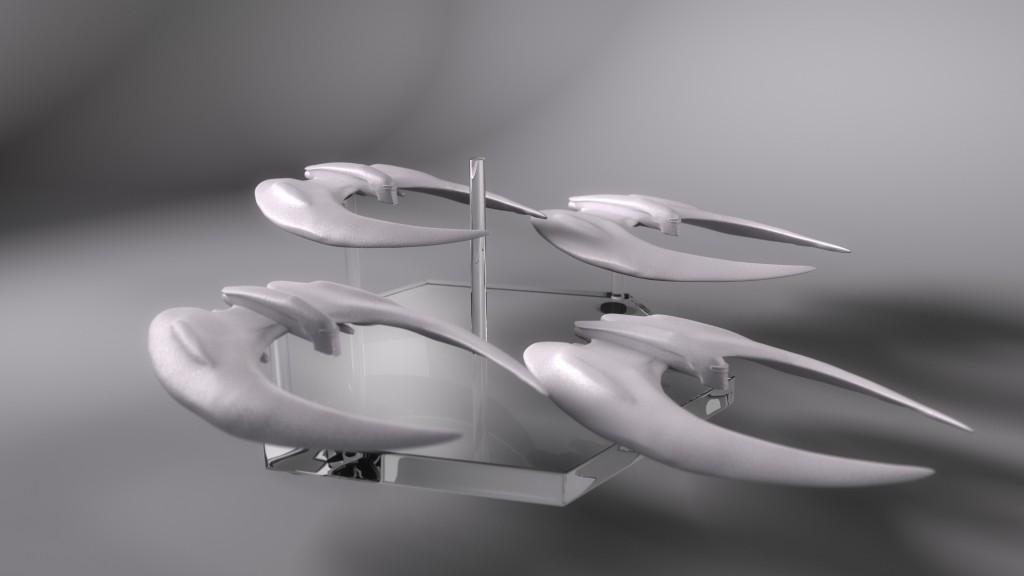
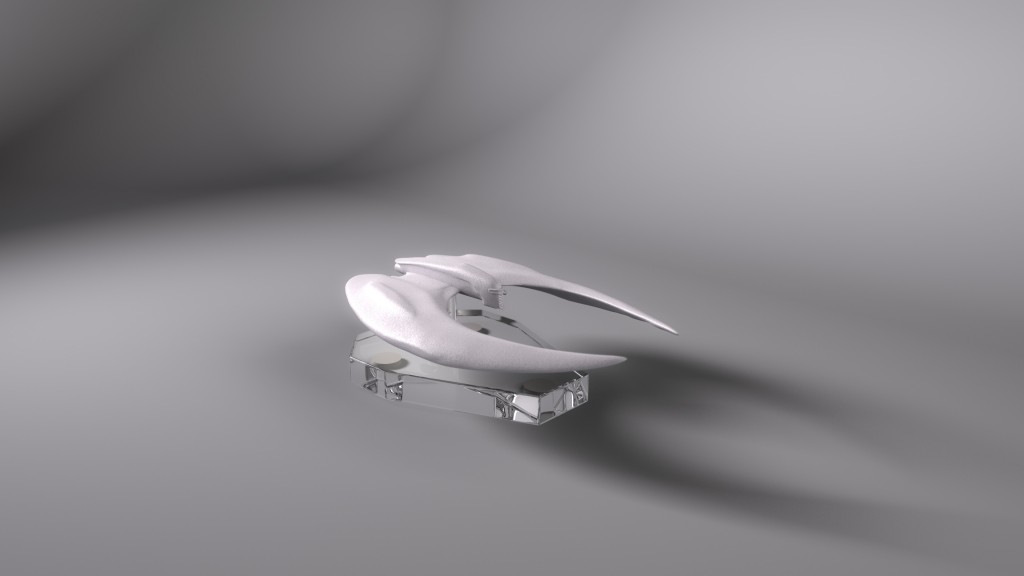
I don’t even remember what prompted it, but I started fiddling with my four or five year old Lightwave Stargate model this past weekend, and decided to take another shot at something that had heretofore frustrated me, the “puddle” effect.

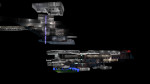
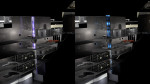
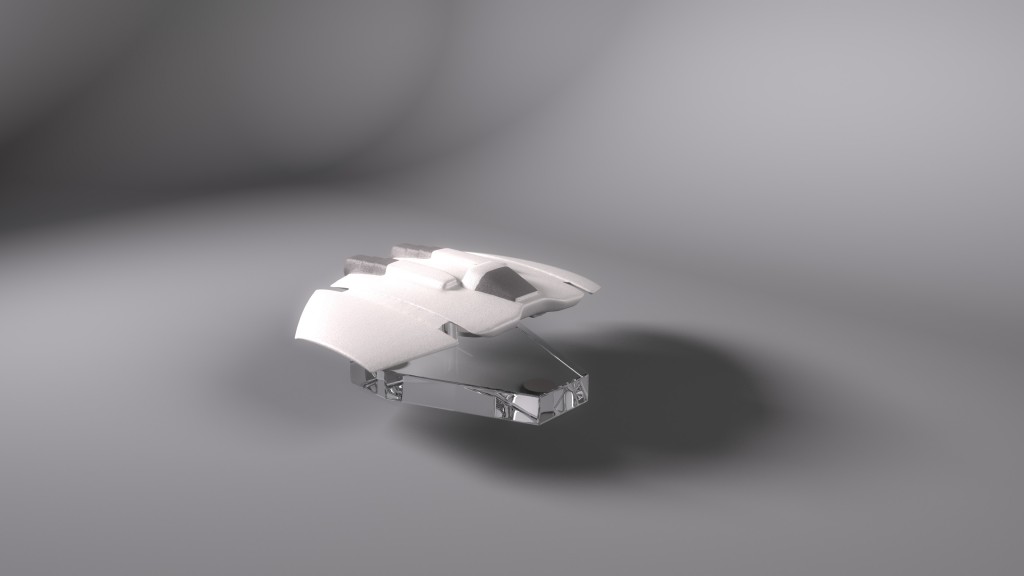
Originally on my model, I did the highlights in the middle with a specular hit. The trouble is, that only looked right from a head-on view, with the spec coming from a head-on light, with all the scene lights deacivated. I ended up pre-rendering a loop of it, and then applying it to a plane for actual scene work. It took a lot of space, and meant a separate pre-render if you wanted to show another set of ripples form something passing through the stargate. It also tended to look flat from oblique angles. Huge pain, and I always wanted to figure out some way to do it procedurally in-camera.

A couple years ago, it occurred to me that I could help reduce the fakeness of the effect by just pre-rendering the highlights, and having the reflection map I used to break up the ripples be rendered in-camera. This helped, but not really that much.

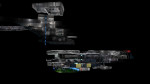
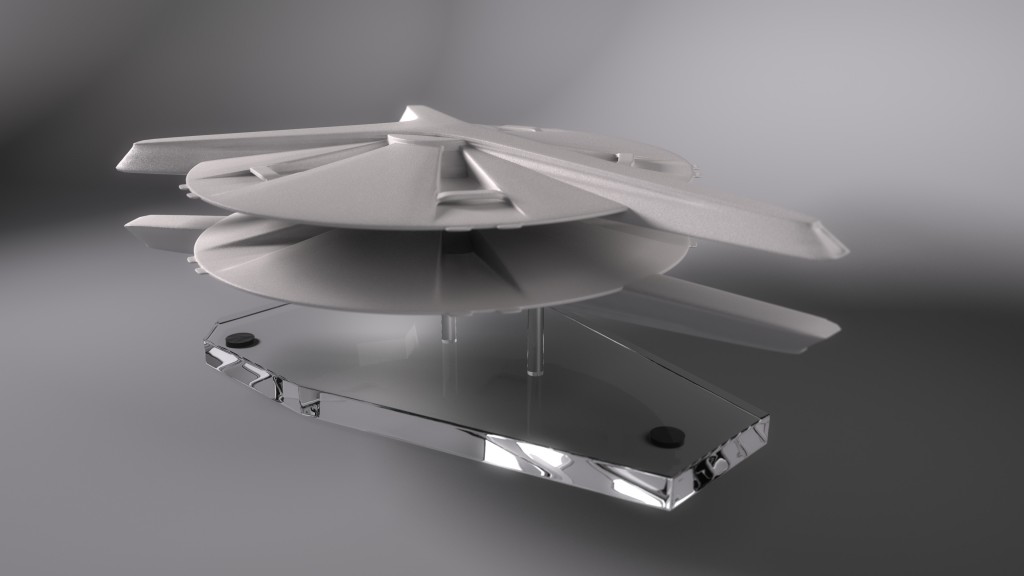
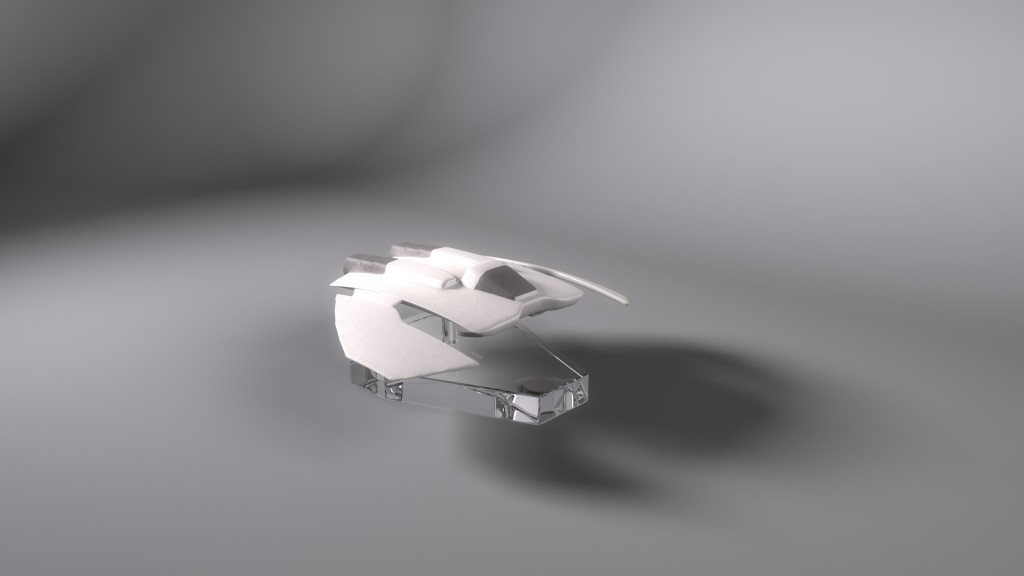
So, that brings us back to now. I started looking at it, and suddenly realized I could just use a gradient to ramp up the reflectivity closer to the center of the object. The reflections would blow out to white as it got closer to the center, it’d be totally independent of the scene lighting, and it’d shift subtly with the angle of the camera.

It’s just. That. Easy.

Old Effect:


New Effect:

Anyway, I fiddled around with it further to perfect it, all the while kicking myself that this perfectly obvious solution hadn’t occurred to me five years ago when I started trying to nail this.

Also, if I’d figured it out then, my interactive lighting solution would still work. Apparently, something in Lightwave has changed in regards to caustics and refractions, breaking my old solution, leaving me stymied.

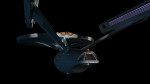
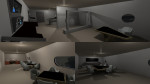
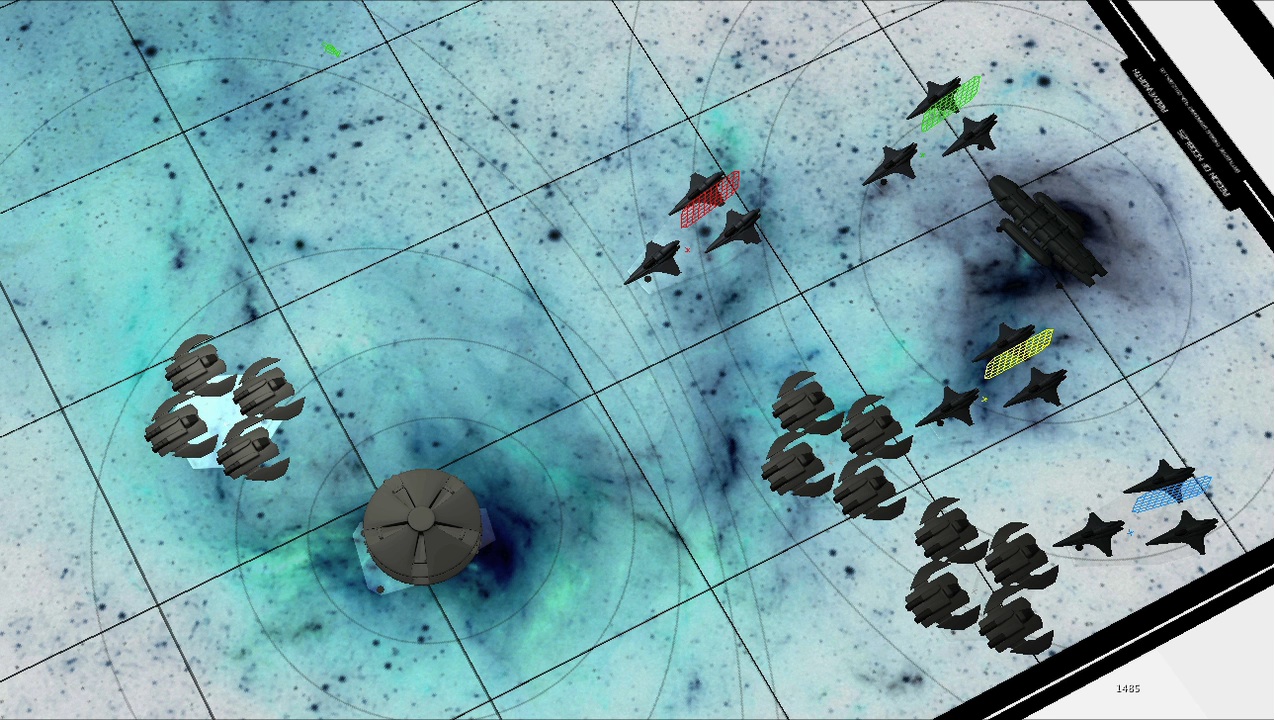
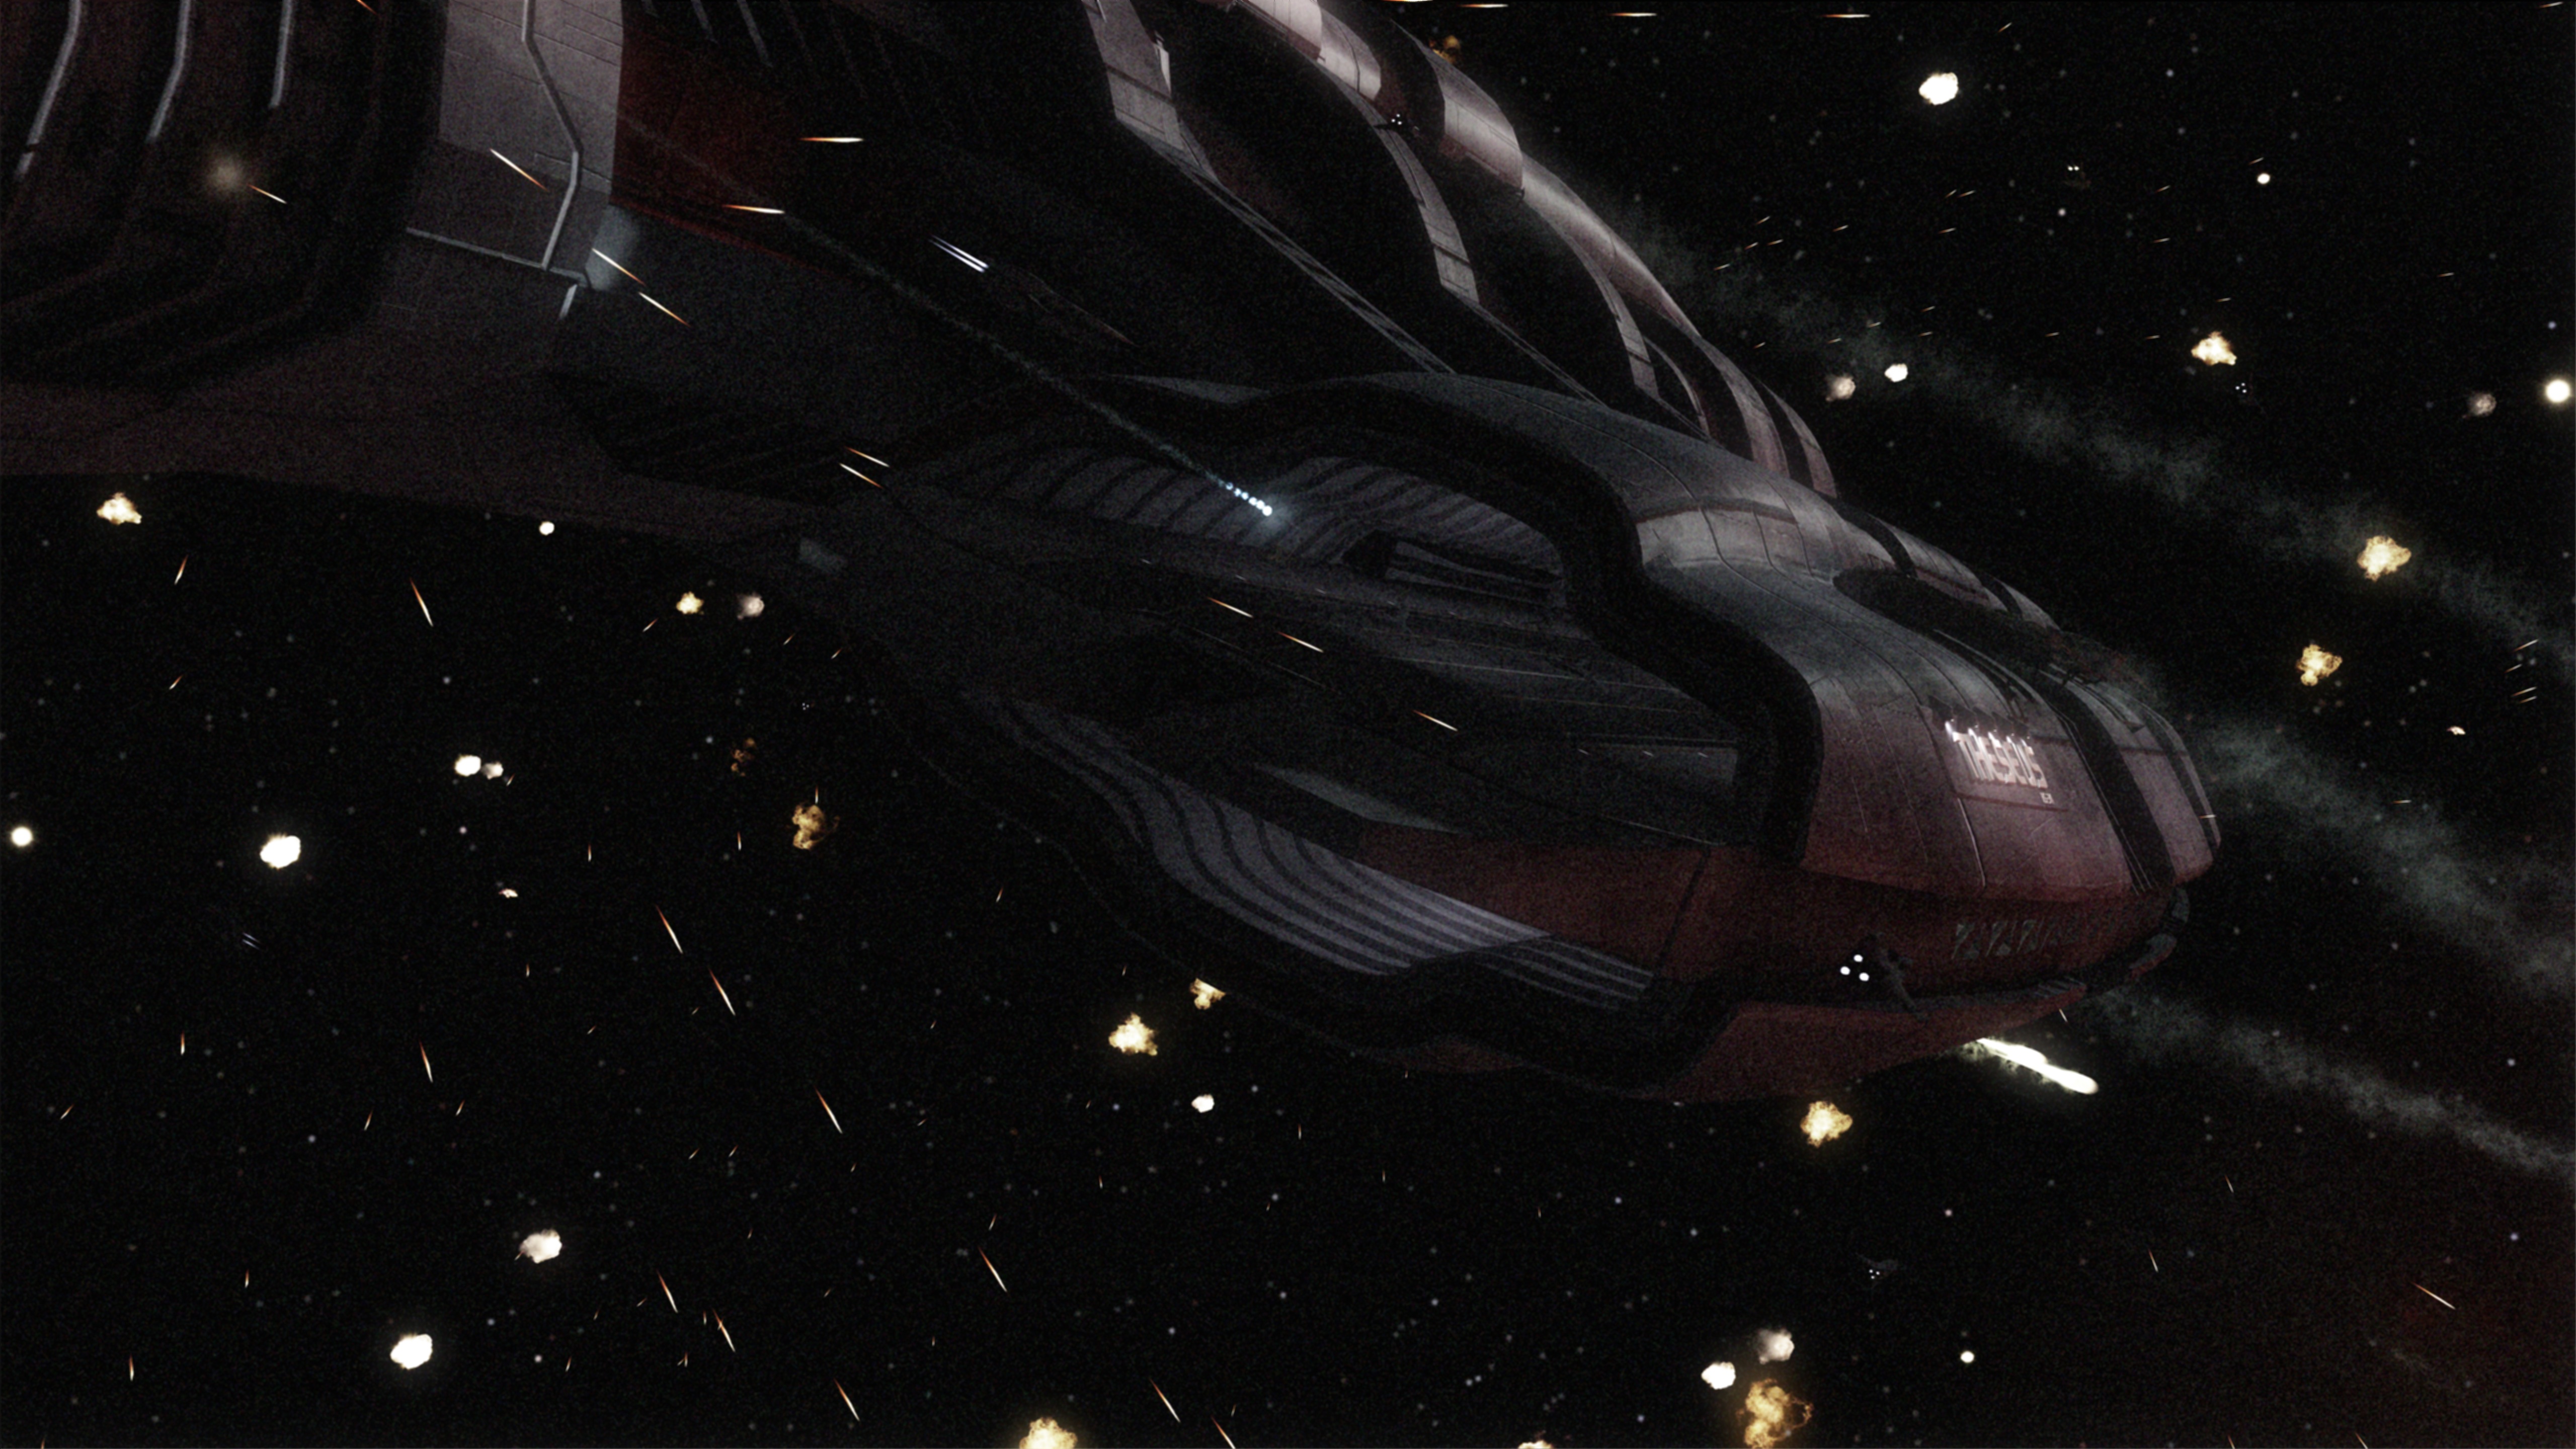
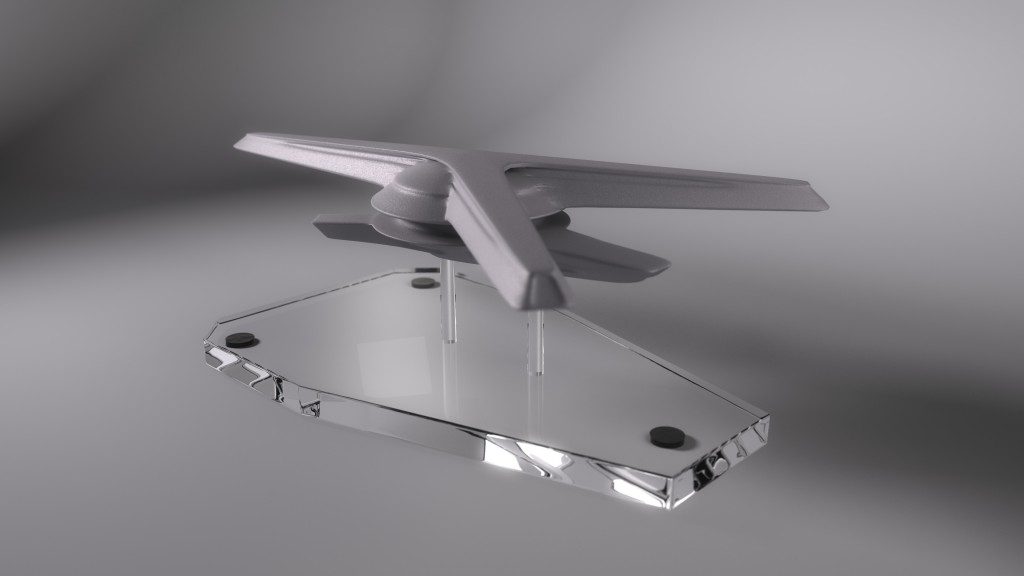
From the rear, the stargate effect looks the same as the front, except semitransparent, and occasionally with a ripply refraction effect, if the VFX people think it’s worth it this week. Simple enough, right? And so it was. Just the same texture as the front, slightly transparent, and with an appropriate refraction index.

The stargate also vomits light out of the front, like sunlight reflecting off water onto a building. I replicated this with a spotlight shining through the back, with caustics enabled (and rediculously cranked up), through a dummy puddle hidden from the camera with a higher refraction index so it would look right. And look right it did!

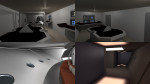
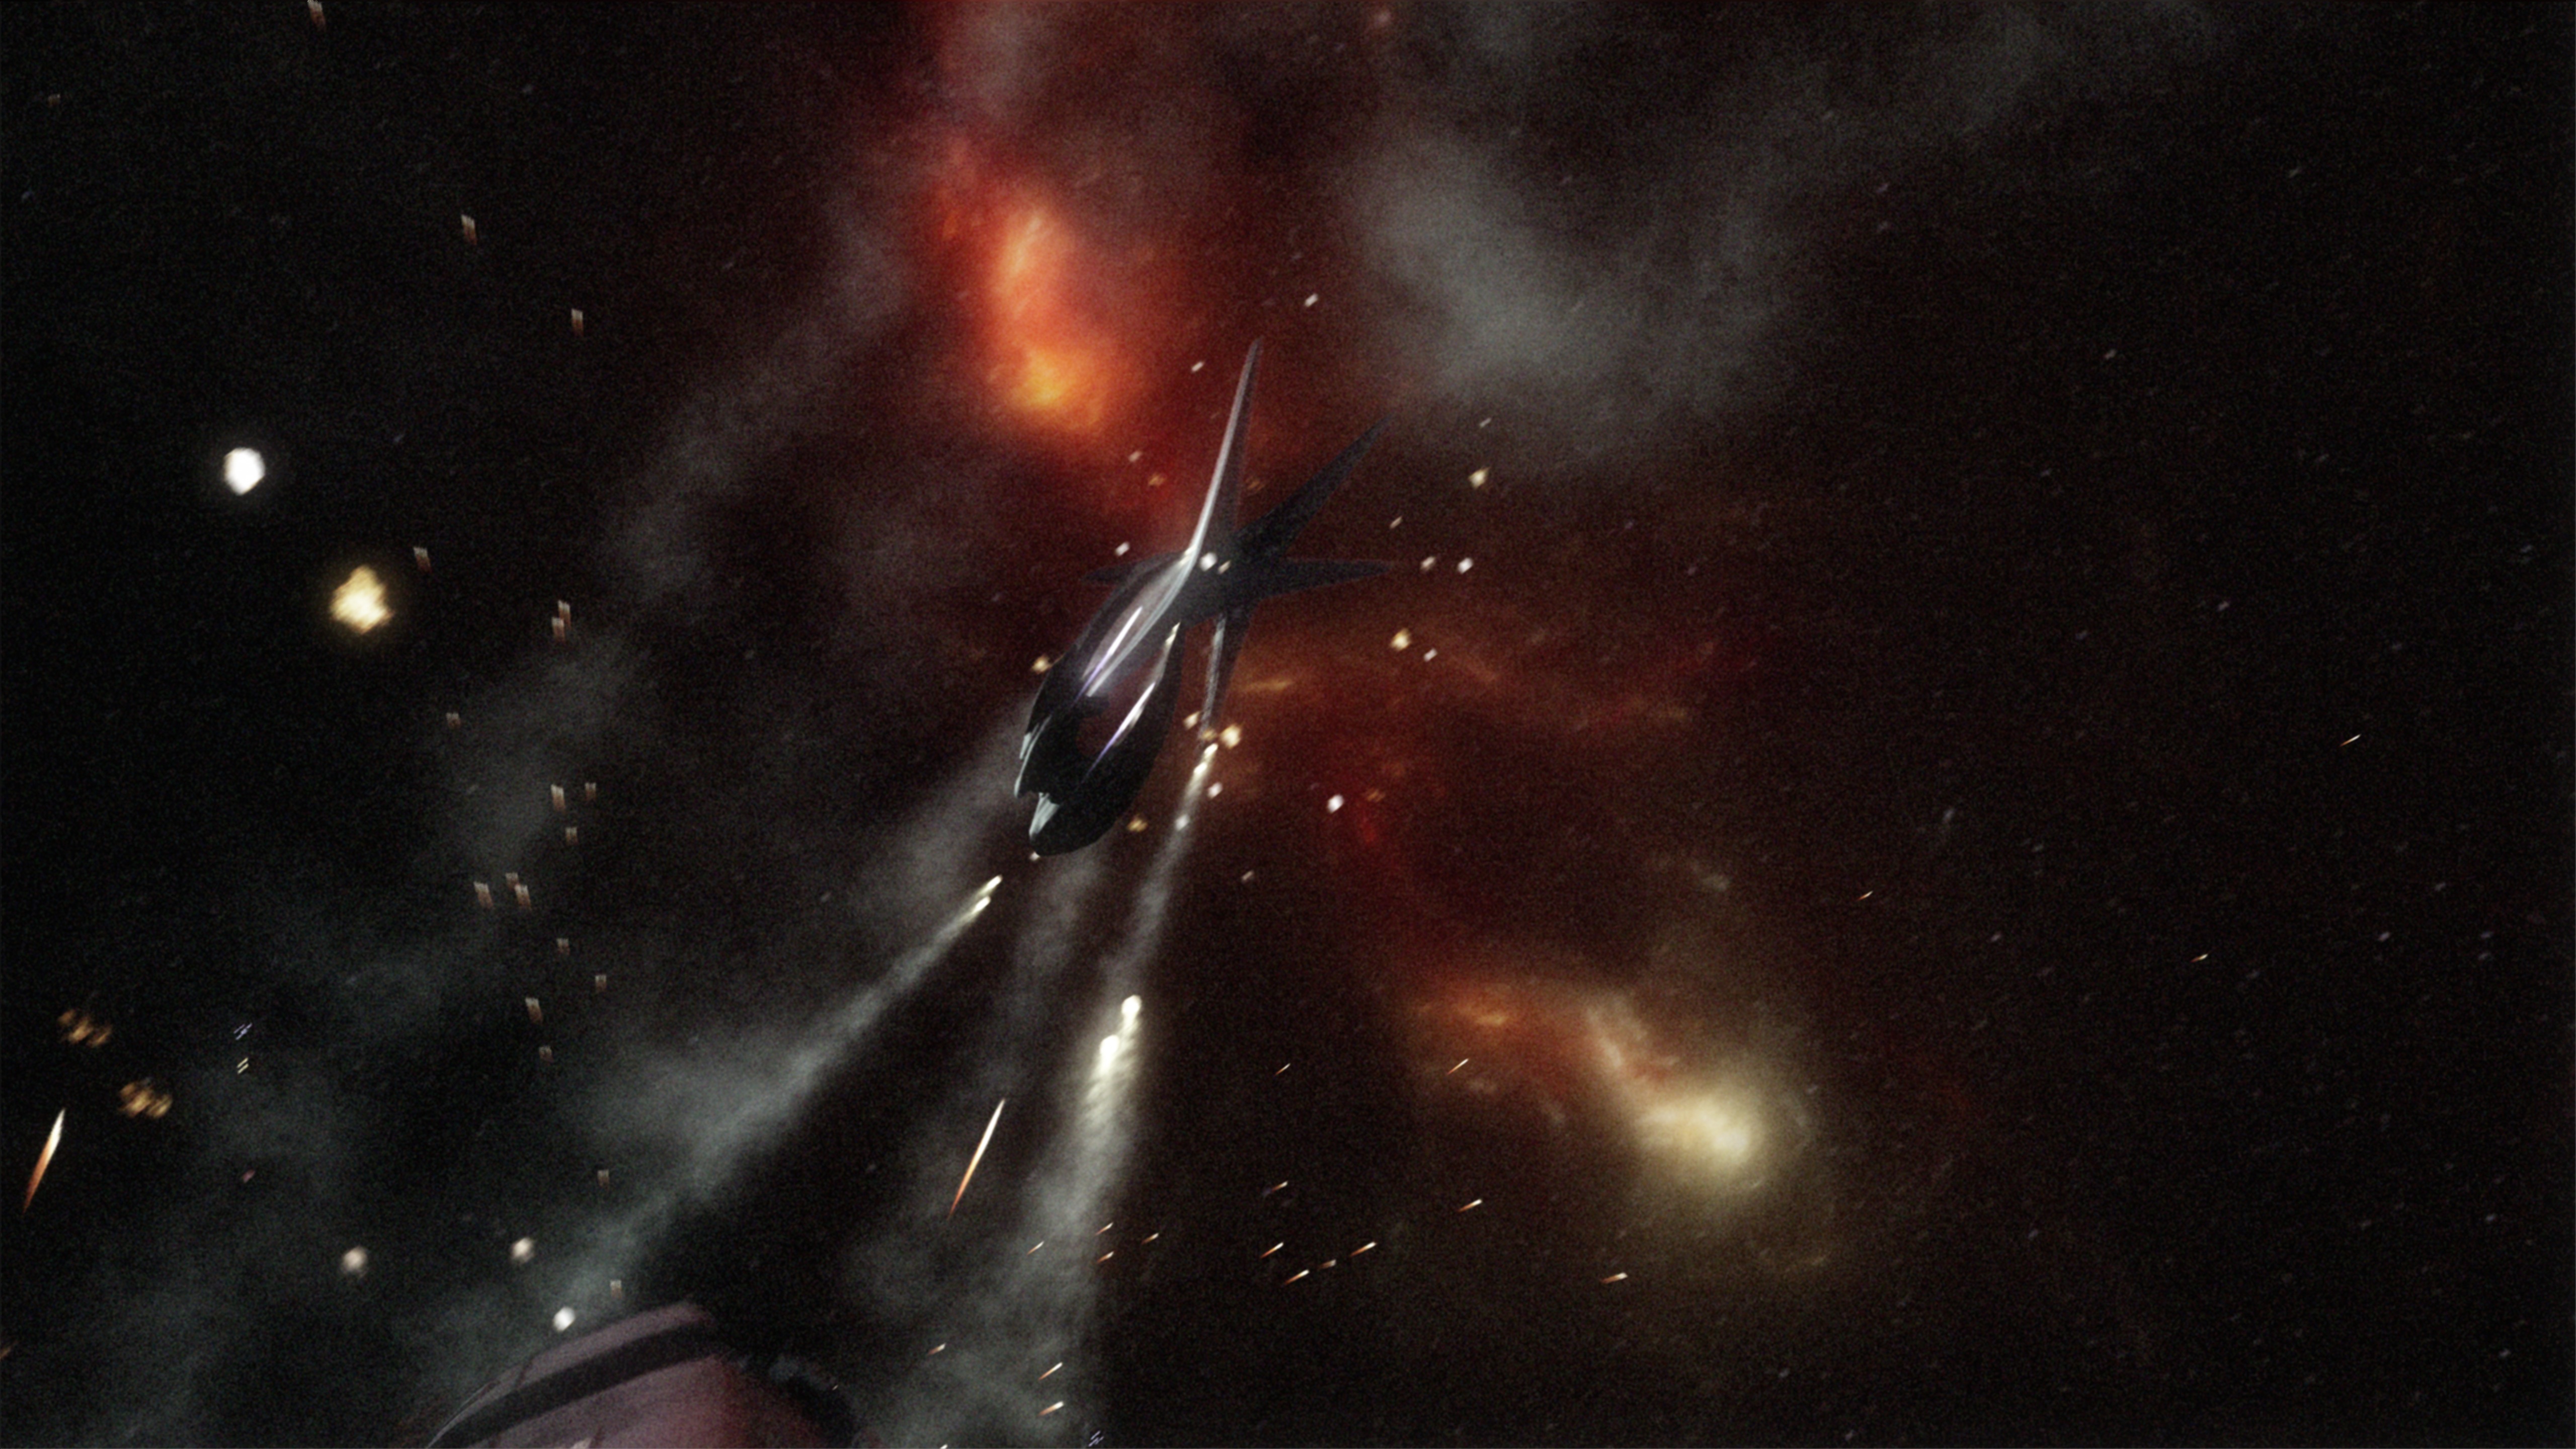
Now, though, the transparent back doesn’t work properly, apparently catching a reflection of the front despite the fact that the front side of the puddle is one-sided polygons in every way it’s possible for polygons to be one-sided. Now that I’m talking about it, I think I remember something about caustics or refraction being altered in Lightwave 9 to remove the nessessity of “air polys.” That could have something to do with it.

Well, that’s not too bad. I just live without the refractive back. No big. Unfortunately, the caustics are just wrong. They move very slowly in one direction, and flicker like it’s going out of style. It looks like nothing so much as a helicopter’s blades on film, a wide blur slowly moving around and around.

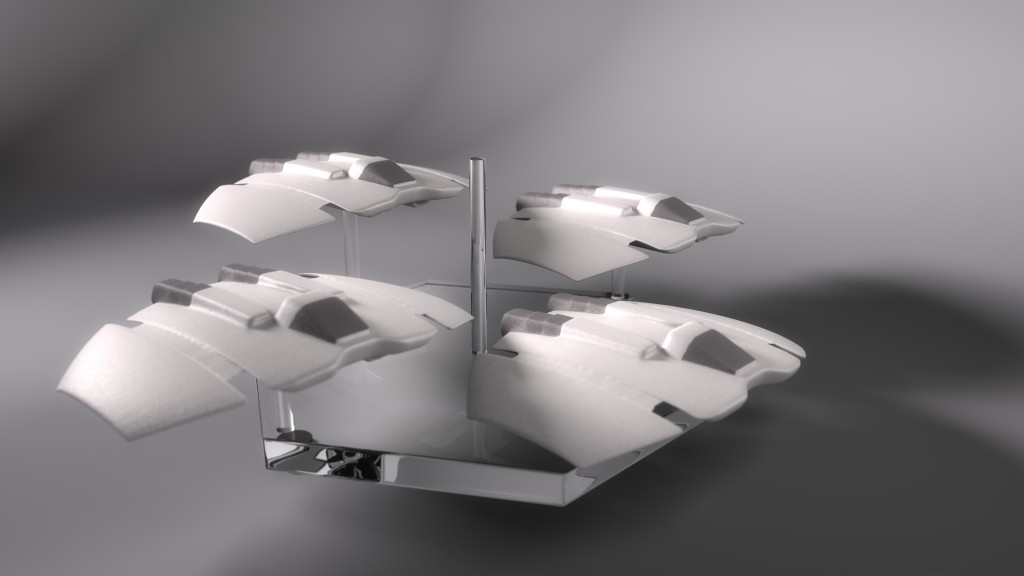
I backtracked to the versions I did my old test renders with, and made sure the problems weren’t the result of something I changed (which it seems to be in one other case, where the spot I used for the caustics ignored the caustics object and went through the proper puddle, despite having exactly the opposite set in the “exclude object from light” settings. That’ll be a fun one to track down). I’ll continue fiddling with it in the coming days to see if I can figure some new workarounds for it. I’m also thinking about trying to do a kawoosh now that I’m looking at it again, having seen some spiffy CG ones on youtube (including one that used my gate model).

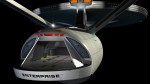
At the moment, though, my gate looks fine from the front, and the lighting looks fine in a still.

Old Effect:

New Effect:


Updated January 30, 2015

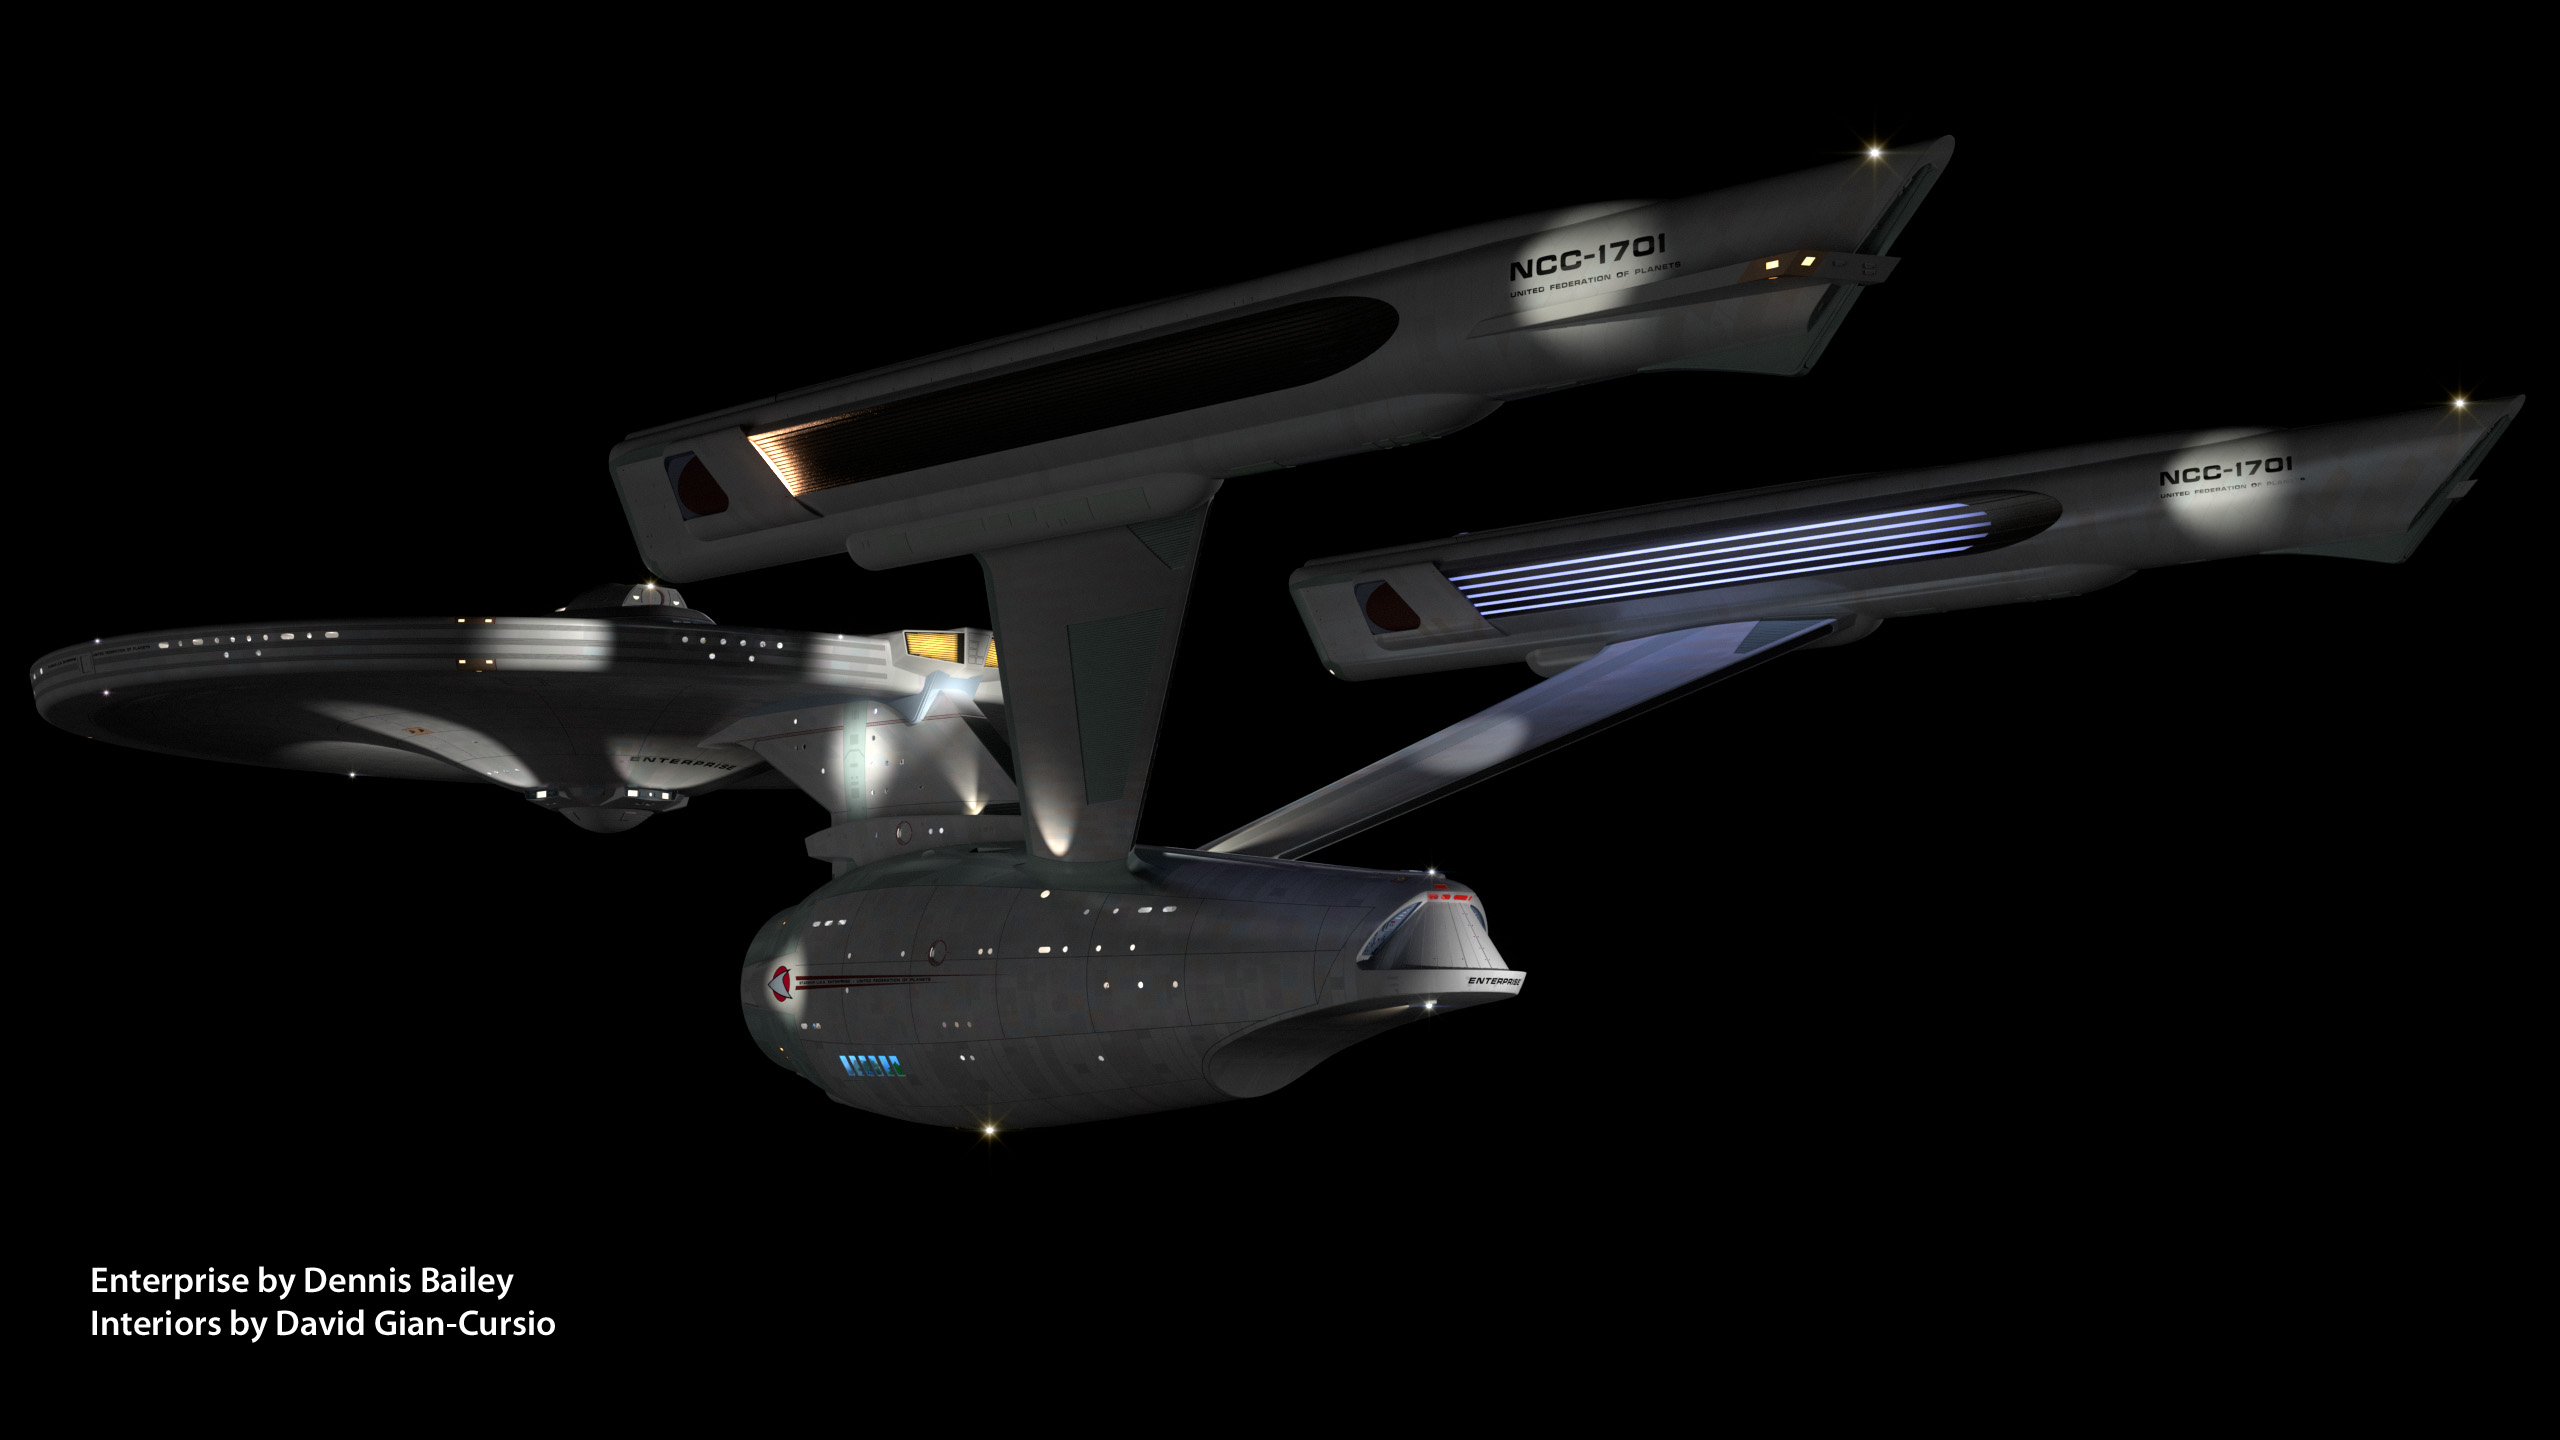
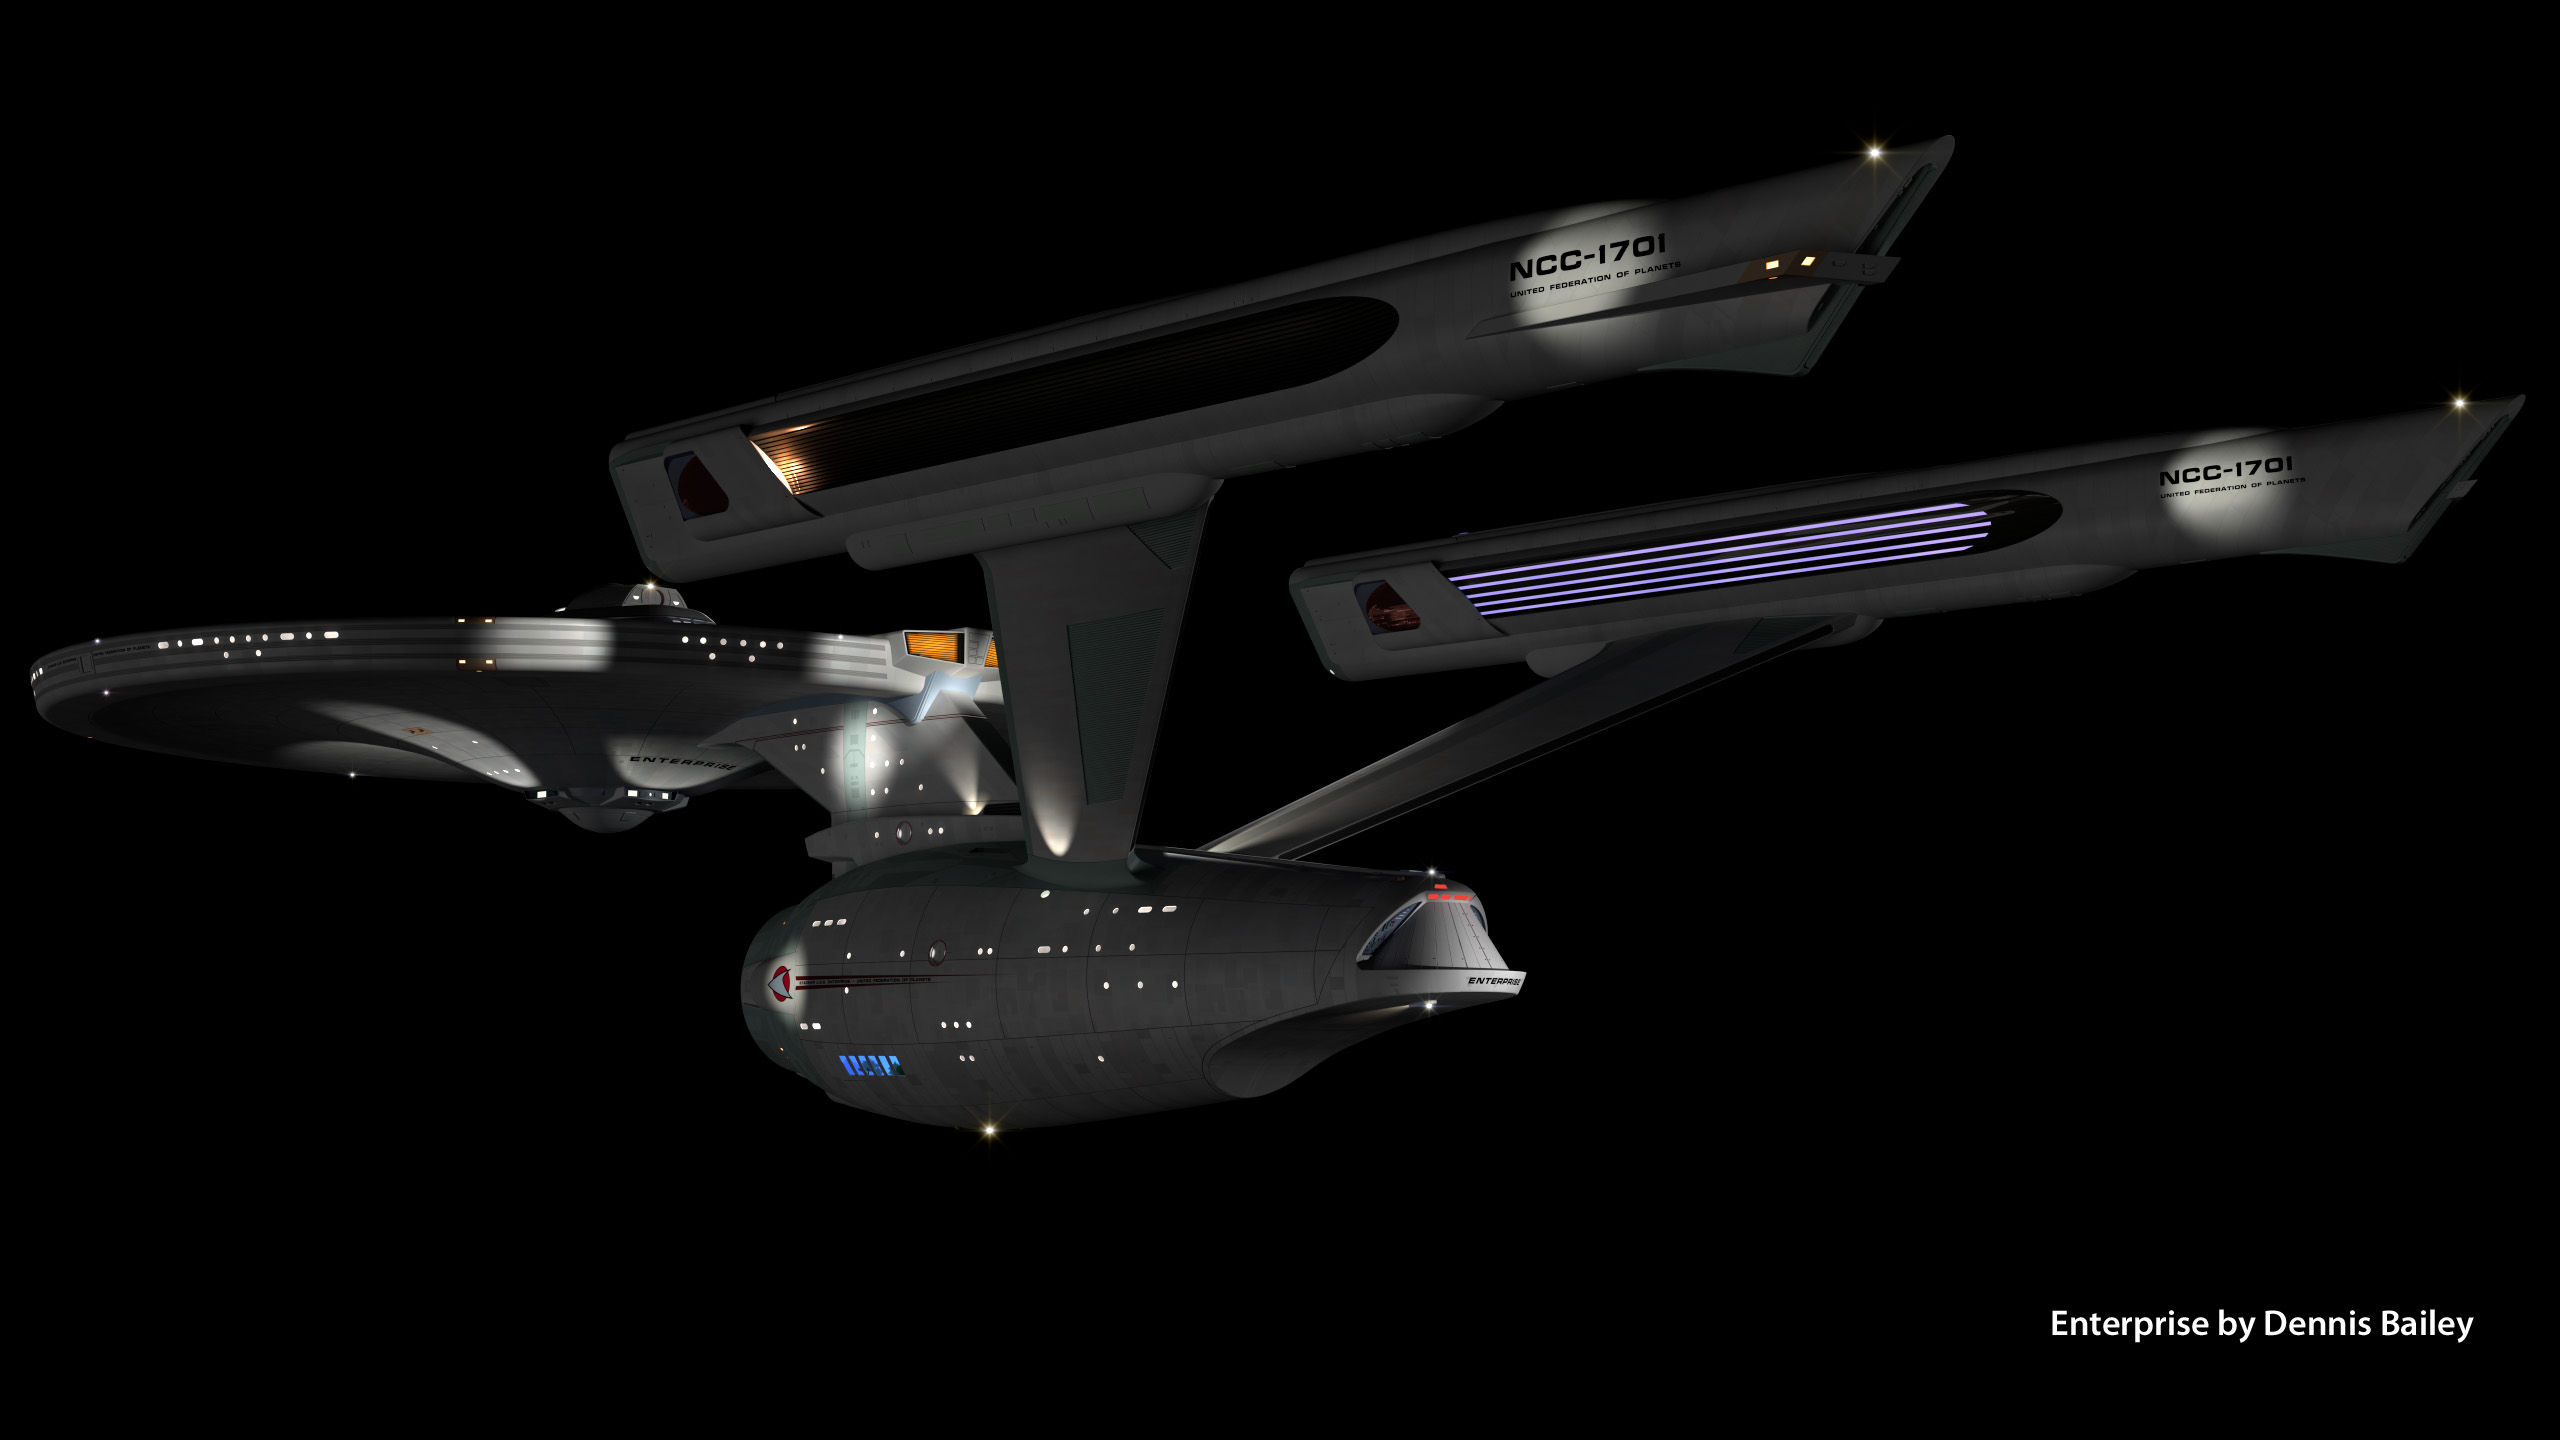
I’ve rendered a 5K version of the showcase image.